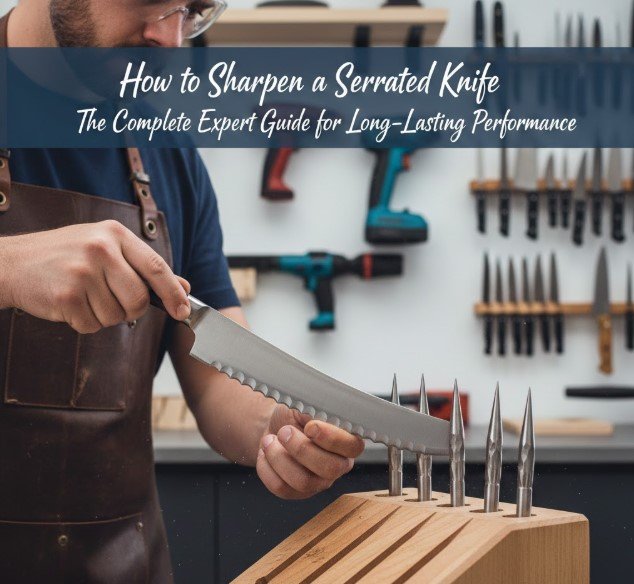
If you’ve ever struggled to slice a tomato cleanly or noticed your bread tearing instead of cutting smoothly, it’s time to learn how to sharpen a serrated knife correctly. Serrated knives are essential kitchen tools designed for cutting crusty bread, delicate fruits, and fibrous vegetables. However, unlike straight-edge knives, their saw-like teeth require a specialized sharpening approach.
Many people mistakenly believe serrated blades cannot be sharpened at home. In reality, with the right technique and understanding of blade geometry, you can restore sharpness efficiently and safely. Whether you’re wondering how to sharpen a serrated knife at home, how to sharpen a serrated knife with a whetstone, or even how to sharpen a serrated knife without tools, this comprehensive guide covers every proven method.
Drawing from professional knife maintenance principles and industry best practices—such as those used by manufacturers like Victorinox and Wüsthof—this article delivers practical, step-by-step instruction grounded in real-world expertise.
Understanding Serrated Knife Anatomy Before Sharpening
Before diving into techniques, it’s crucial to understand what makes a serrated knife unique. Unlike straight blades, serrated knives feature alternating teeth (points) and gullets (curved valleys). Most serrated blades are beveled on only one side, meaning sharpening must focus primarily on the angled side while lightly deburring the flat side.
Serrated knives cut using a tearing-and-slicing action. The pointed teeth initiate the cut, while the gullets maintain contact and reduce surface resistance. Because of this structure, sharpening each gullet individually is necessary for restoring cutting performance.
Key Structural Elements of a Serrated Blade
• The Teeth (Cutting Points)
The pointed edges initiate penetration into food surfaces. Over time, these tips dull and round off, reducing slicing efficiency. Proper sharpening restores their precision and bite.
• The Gullets (Curved Grooves)
These concave sections between teeth perform most of the cutting work. Each gullet must be sharpened individually using a tapered rod or similar tool for accurate edge restoration.
• Single-Sided Bevel Design
Most serrated knives are beveled only on one side. Sharpening the incorrect side can damage edge geometry and reduce performance.
• Flat Back Side (Non-Beveled Side)
The flat side requires only light deburring. Excess grinding here can flatten serrations and compromise effectiveness.
• Blade Steel Hardness
Higher-quality knives often use hardened stainless steel. Harder steel retains sharpness longer but requires proper sharpening tools.
• Serration Size and Spacing
Fine serrations require smaller sharpening rods, while large bread knives need wider tapered sharpeners.
Also Read:- How to Set the Table: The Complete Step-by-Step Guide for Every Occasion
How to Sharpen a Serrated Knife at Home Safely
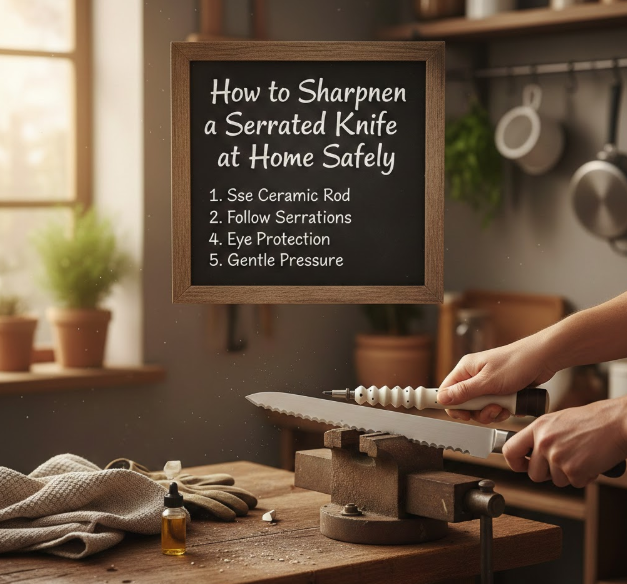
Learning how to sharpen a serrated knife at home saves money and extends the lifespan of your kitchen tools. With patience and precision, home sharpening can restore performance comparable to professional services.
Unlike straight-edge sharpening, serrated blade maintenance focuses on restoring individual serrations rather than grinding an entire flat edge.
Step-by-Step Home Sharpening Method
• Secure the Knife on a Stable Surface
Place the knife on a non-slip towel or clamp it gently in position. Stability prevents accidental slips and ensures consistent sharpening angles.
• Use a Tapered Sharpening Rod
A ceramic or diamond-coated tapered rod fits into each gullet. Insert the rod at the original bevel angle (typically 13–17 degrees) and stroke gently outward.
• Sharpen Each Gullet Individually
Move systematically from base to tip. Apply light pressure and count strokes evenly to maintain uniformity across serrations.
• Remove Burr from the Flat Side
After sharpening the beveled side, gently wipe the flat side against fine sandpaper or a flat stone to remove burrs without flattening teeth.
• Test Sharpness Carefully
Slice through paper or tomato skin to evaluate effectiveness. Avoid testing on fingers.
• Clean and Dry Thoroughly
Remove metal filings and debris. Dry completely to prevent corrosion.
Also Read:- How to Cook Asparagus: The Complete Guide to Perfectly Tender, Flavorful Spears
How to Sharpen a Serrated Knife with a Whetstone
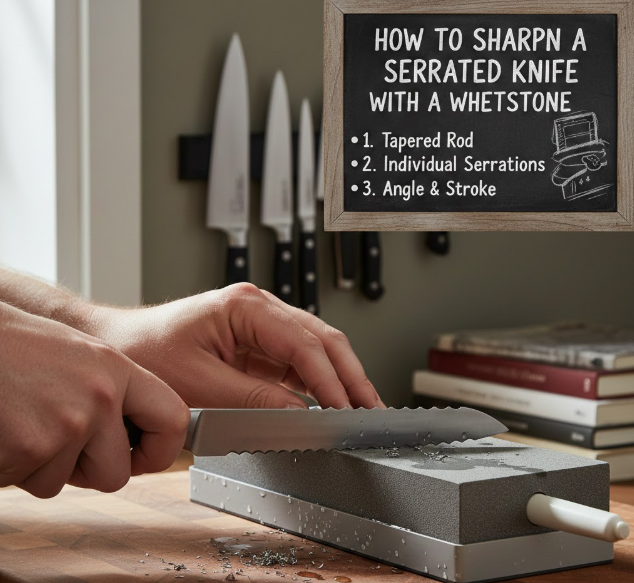
Many wonder how to sharpen a serrated knife with a whetstone, but traditional flat whetstones are not ideal for full serration work. However, they can assist with deburring and maintaining blade flatness.
Using a Whetstone Properly
• Use the Stone Only for Deburring
The flat surface removes burr buildup after rod sharpening. Light strokes maintain blade integrity.
• Avoid Grinding Serrations Directly
Flattening teeth on a stone damages cutting efficiency.
• Maintain Proper Grit Selection
Fine grit (1000–3000) works best for finishing and polishing.
• Use Consistent Pressure
Excessive force removes too much material.
• Keep Stone Lubricated
Water stones require soaking to reduce friction.
• Combine with Tapered Rod
A whetstone complements rod sharpening but does not replace it.
Also Read:- How to Cut a Pineapple: The Complete Step-by-Step Guide for Perfect Chunks and Rings
How to Sharpen a Serrated Knife with Sandpaper
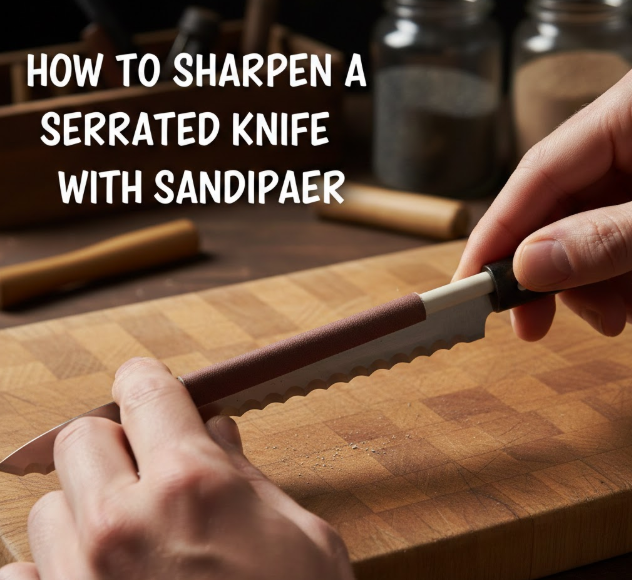
If professional tools are unavailable, learning how to sharpen a serrated knife with sandpaper offers a practical alternative.
Sandpaper Sharpening Process
• Wrap Sandpaper Around a Wooden Dowell
Select grit between 400–800 for sharpening and 1000+ for finishing.
• Match the Bevel Angle Precisely
Insert the wrapped dowel into each gullet at original sharpening angle.
• Apply Gentle Controlled Strokes
Over-sharpening removes too much metal.
• Finish with Fine Grit
Polishing reduces micro-serrations and improves slicing.
• Deburr Flat Side Carefully
Lightly glide flat side over fine sandpaper.
• Clean Blade Thoroughly
Metal residue must be removed before food contact.
Also Read:- How to Start Knitting: The Complete Beginner’s Guide to Knitting Success
How to Sharpen a Serrated Knife Without Tools
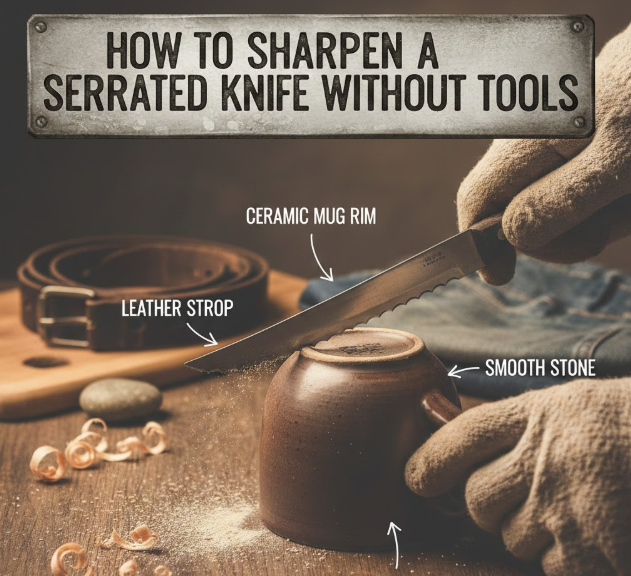
In emergency situations, you may need to know how to sharpen a serrated knife without tools.
Improvised Sharpening Techniques
• Use a Ceramic Mug Base
The unglazed ceramic ring acts as a fine abrasive surface.
• Try a Nail File or Emery Board
Insert into serrations carefully.
• Utilize a Small Screwdriver Shaft
Only if smooth and appropriately sized.
• Sharpen Gently to Avoid Damage
Improvised methods require caution.
• Focus on Touch-Up Rather Than Full Sharpening
These methods restore minor dullness only.
• Upgrade to Proper Tools When Possible
Improvised solutions are temporary fixes.
Also Read:- How to Add Fractions: The Complete Step-by-Step Guide for Students and Adults
How to Sharpen a Serrated Knife with an Electric Sharpener
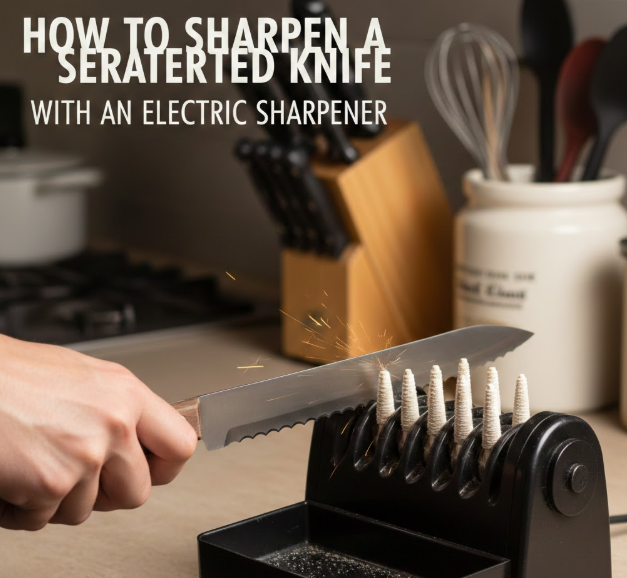
Understanding how to sharpen a serrated knife with an electric sharpener requires careful selection of equipment. Not all electric sharpeners support serrated blades.
Electric Sharpening Guidelines
• Check Manufacturer Compatibility
Some models have serrated blade settings.
• Use Light Pressure
Avoid forcing blade through slot.
• Follow Angle Guides Precisely
Incorrect angle damages serrations.
• Sharpen Only Beveled Side
Maintain original design geometry.
• Inspect After Each Pass
Prevent over-grinding.
• Finish with Manual Deburring
Light finishing ensures smooth cutting.
Also Read:- How to Archive an Amazon Order: The Complete 2025 Step-by-Step Guide
How to Sharpen a Serrated Knife with a Stone (Rod or Ceramic Stone)
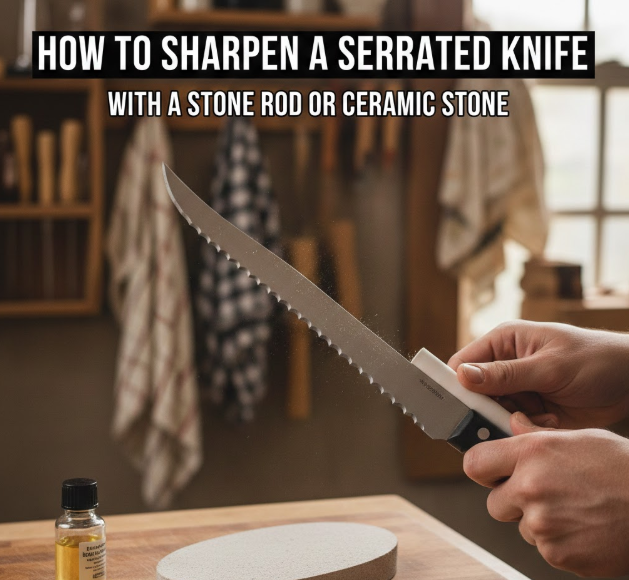
When discussing how to sharpen a serrated knife with a stone, tapered ceramic stones are most effective.
Proper Stone Sharpening Technique
• Choose Tapered Ceramic or Diamond Rod
Fit rod size to serration width.
• Insert at Correct Angle
Match factory bevel precisely.
• Stroke from Base to Tip
Maintain consistent rhythm.
• Avoid Excess Pressure
Gentle strokes preserve steel integrity.
• Remove Burr Carefully
Lightly pass flat side across fine surface.
• Test and Repeat If Needed
Even sharpening ensures balanced cutting.
Also Read:- How to Address an Envelope: The Complete Step-by-Step Professional Guide
Conclusion
Learning how to sharpen a serrated knife empowers you to maintain one of the most versatile tools in your kitchen. From home sharpening with tapered rods to emergency sandpaper methods and electric sharpeners, restoring serrations requires patience and attention to detail.
By focusing on each gullet individually, maintaining proper bevel angles, and removing burrs carefully, you preserve blade integrity and extend lifespan. Regular maintenance prevents excessive wear and ensures smooth slicing performance.
A well-maintained serrated knife not only improves efficiency but also enhances safety. Sharp knives require less force, reducing the risk of slipping. With the techniques outlined above, you can confidently sharpen serrated knives at home and maintain peak performance for years.
FAQs
Can serrated knives really be sharpened?
Yes. They require individual serration sharpening rather than flat grinding.
How often should I sharpen a serrated knife?
Typically once or twice per year depending on usage.
Is professional sharpening better?
For high-end knives, professional services may ensure precision.
Can I ruin a serrated knife by sharpening incorrectly?
Yes. Flattening serrations or altering bevel angles can reduce performance.
What is the safest method for beginners?
Using a tapered ceramic sharpening rod at the original bevel angle.
For More Update Visit: VallayTaxNv