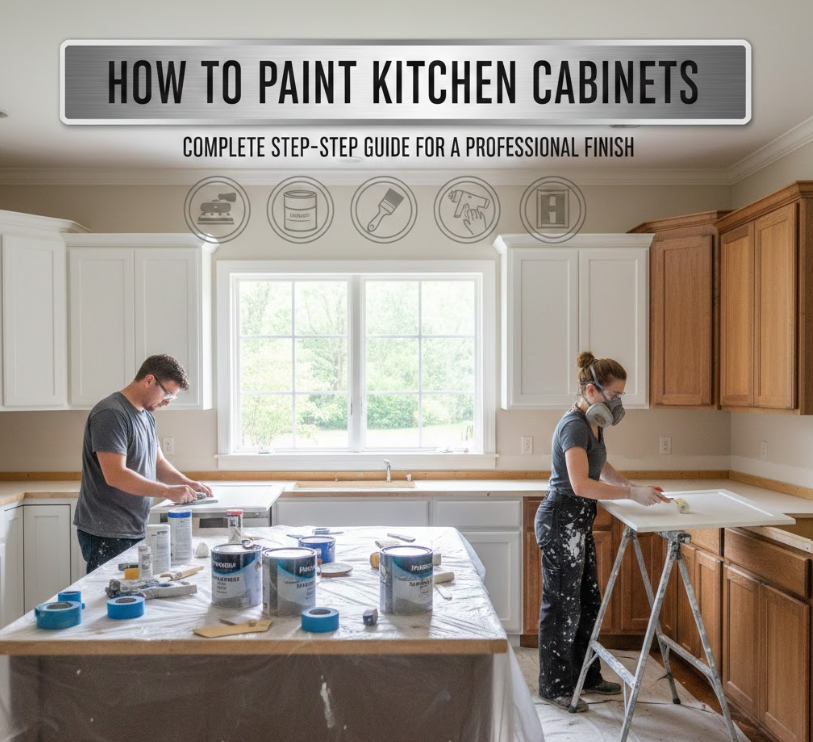
Updating your kitchen cabinets is one of the most impactful ways to refresh your kitchen without a full remodel. Learning how to paint kitchen cabinets properly can transform your space, improve home value, and give your kitchen a modern, clean look. Whether you’re aiming for crisp white cabinets, a bold color, or a high-end professional finish, the process requires careful preparation, quality materials, and attention to detail.
Painting kitchen cabinets can seem intimidating because cabinets are heavily used, exposed to grease and moisture, and have intricate surfaces. However, with proper guidance, you can achieve a durable, professional finish even as a DIY project. This comprehensive guide covers how to paint kitchen cabinets without sanding, how to paint them white, how to paint them professionally, and how to paint them like a pro for long-lasting results.
Following these methods ensures your kitchen cabinets will look beautiful, resist wear, and maintain their finish for years.
Understanding the Basics: Tools, Materials, and Preparation for Painting Cabinets
Before learning how to paint kitchen cabinets, it’s crucial to understand the essential tools and materials needed. Proper preparation ensures smooth application, durability, and professional-quality results.
Preparation includes cleaning, degreasing, removing hardware, and understanding surface types such as laminate, wood, or MDF. Choosing the right paint—such as semi-gloss or satin enamel—affects the cabinet’s appearance, durability, and cleanability.
Essential considerations:
. Choose the right paint type and finish
For kitchen cabinets, durable paints such as acrylic latex or oil-based enamel are ideal. Satin, semi-gloss, or gloss finishes resist stains, grease, and cleaning wear. Using high-quality paint improves adhesion and minimizes brush marks.
Selecting paint that matches your desired aesthetic ensures longevity. Professional-grade paint is worth the investment for a long-lasting finish.
. Gather proper tools
Essential tools include brushes, foam rollers, painter’s tape, drop cloths, paint trays, and sandpaper or scuff pads (optional). Using quality brushes and rollers reduces streaks and ensures a smooth finish.
Proper tools allow faster, cleaner, and more professional results.
. Remove cabinet hardware and doors
Remove all knobs, handles, and cabinet doors to paint each piece individually. This ensures even coverage and prevents paint from getting on hinges or walls.
Label each door and hinge to make reassembly easier. Organization during prep is key.
. Clean and degrease surfaces
Cabinets accumulate grease and dirt, which prevent paint adhesion. Use degreasers or mild detergent to clean thoroughly.
Clean surfaces reduce peeling and ensure smooth paint application.
. Protect surrounding areas
Use painter’s tape, drop cloths, and plastic sheeting to protect walls, floors, and countertops.
This prevents accidental spills or splatters.
. Plan the painting sequence
Decide whether to paint doors first, then frames, or vice versa. Organizing your workflow prevents rework and ensures even drying.
Planning also allows multiple coats without interference.
Also Read:- How to Lower A1C: Complete Medical and Natural Guide for Better Blood Sugar Control
How to Paint Kitchen Cabinets Without Sanding
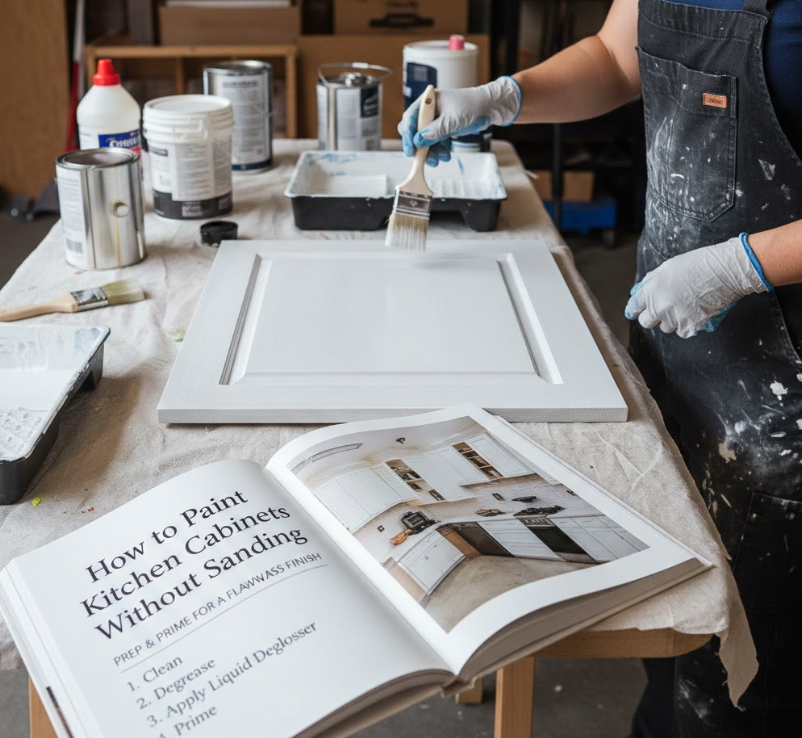
Many homeowners want to learn how to paint kitchen cabinets without sanding because sanding can be time-consuming and messy. This method works best on cabinets that are in good condition, clean, and have smooth surfaces.
Using a high-quality primer that adheres to glossy or laminate surfaces eliminates the need for aggressive sanding. Preparation and proper cleaning are key to success.
Steps for a sanding-free approach:
. Clean and degrease thoroughly
Even without sanding, cabinets must be free of grease, dust, and grime. Use trisodium phosphate (TSP) or a mild degreaser.
This ensures paint bonds to the surface.
. Use a bonding primer
Apply a bonding or adhesion primer designed for glossy or laminate surfaces. This creates a surface that paint can adhere to without sanding.
Primers prevent peeling, chipping, and uneven finish.
. Apply paint using smooth strokes
Use foam rollers or high-quality brushes to avoid streaks. Multiple thin coats are better than one thick coat.
Thin layers improve adhesion and durability.
. Allow sufficient drying time
Follow manufacturer’s instructions for drying between coats.
Proper drying prevents smudging and ensures a smooth finish.
. Apply a protective topcoat
A polyurethane or polycrylic topcoat increases durability and makes cleaning easier.
This ensures cabinets withstand daily use.
. Reattach hardware carefully
Once paint is fully dry, reinstall knobs, handles, and doors.
Careful reassembly prevents scratches or damage to the new finish.
Also Read:- How to Scan a Document: The Complete Beginner-to-Expert Guide
How to Paint Kitchen Cabinets White
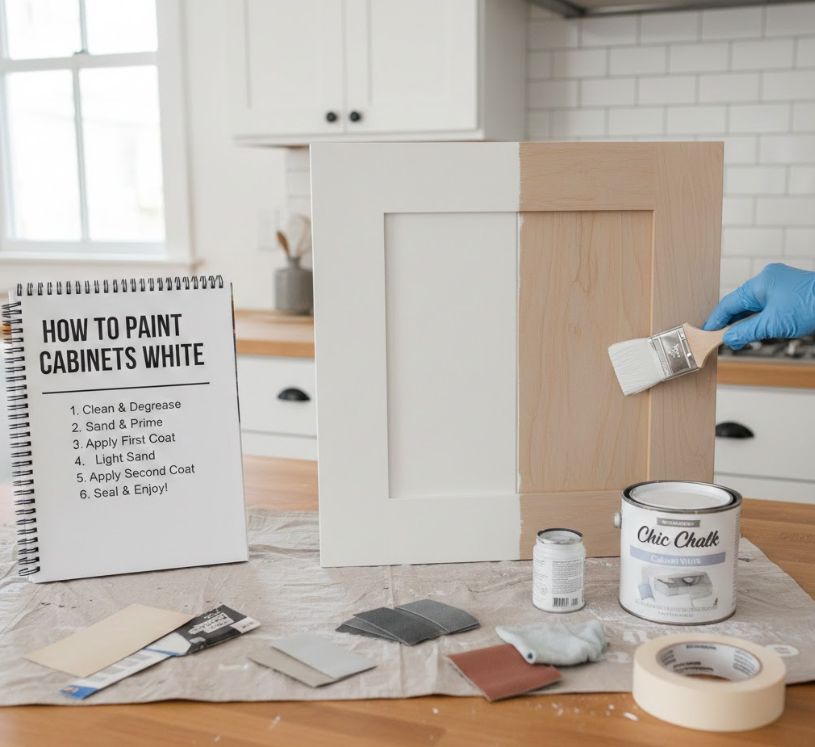
White cabinets are timeless and brighten kitchens significantly. Learning how to paint kitchen cabinets white requires special attention because imperfections and streaks show more prominently on light colors.
Using proper primers, multiple coats, and a fine sanding between coats ensures a smooth, professional-looking white finish.
Steps to achieve a flawless white finish:
. Choose the right white paint
Select a high-quality, durable paint in satin or semi-gloss finish. Cool or warm whites depend on your kitchen’s lighting and countertop tones.
Durable paint resists yellowing and stains over time.
. Prime the cabinets properly
Use a stain-blocking or adhesion primer before painting. This prevents old colors or wood tones from showing through white paint.
Primer ensures uniform coverage.
. Apply multiple thin coats
Apply 2–3 thin coats of white paint, allowing proper drying time between each. Thin coats prevent brush marks, streaks, and drips.
This approach ensures smooth, opaque coverage.
. Sand lightly between coats (optional)
For ultra-smooth finish, lightly sand between coats with fine-grit sandpaper or sanding pads. Remove dust before the next coat.
This creates a professional, furniture-like finish.
. Seal with a clear topcoat
Apply a polyurethane or polycrylic topcoat for protection against stains and wear.
This makes white cabinets easy to clean and maintain.
. Reinstall doors and hardware
Once paint is cured, carefully reinstall cabinet doors and handles. Use felt pads if needed to prevent chipping.
This ensures long-term durability.
Also Read:- How to Wash a Car: The Complete Step-by-Step Professional Guide
How to Paint Kitchen Cabinets Professionally
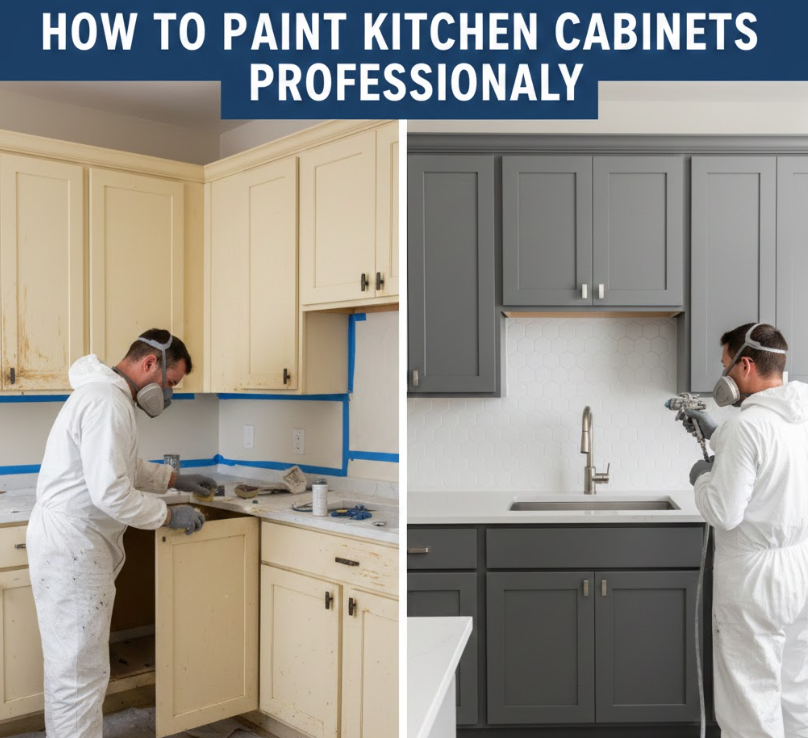
Painting like a professional requires attention to detail, high-quality materials, and proper technique. Learning how to paint kitchen cabinets professionally ensures durability, smoothness, and a finish comparable to a cabinet maker.
Professionals typically disassemble all components, prime all surfaces, and use specialized tools such as spray guns or foam rollers for flawless results.
Key professional techniques:
. Remove all cabinet components
Remove doors, drawers, and hardware. Paint every surface separately for uniform coverage.
Organize parts to avoid confusion during reassembly.
. Use high-quality primers and paints
Professional-grade primers and paints offer superior adhesion, coverage, and durability.
Choosing the right paint improves finish quality and longevity.
. Employ proper brushing or spraying techniques
Use foam rollers or paint sprayers for even coverage. Avoid overloading brushes or rollers.
Thin, even layers create a smooth, streak-free finish.
. Sand between coats for perfection
Lightly sand with fine-grit sandpaper between coats. This ensures a glass-like finish.
Dust removal before the next coat is essential.
. Apply durable topcoat
Seal cabinets with polyurethane or polycrylic for professional durability.
This protects against daily wear, grease, and scratches.
. Install carefully and adjust hardware
Once fully cured, reinstall doors, drawers, and hardware. Align properly to avoid sticking.
Attention to detail gives a professional appearance.
Also Read:- How to Use PowerPoint: The Complete Beginner-to-Expert Guide
How to Paint Kitchen Cabinets Like a Pro
For DIY enthusiasts seeking perfection, learning how to paint kitchen cabinets like a pro combines preparation, technique, and finishing skills. Achieving a showroom-level finish requires patience and meticulous execution.
Professionals emphasize smooth surfaces, high-quality tools, and protective topcoats.
Steps to achieve pro-level results:
. Plan the entire project
Map out steps, schedule drying times, and organize materials.
Planning ensures efficient workflow.
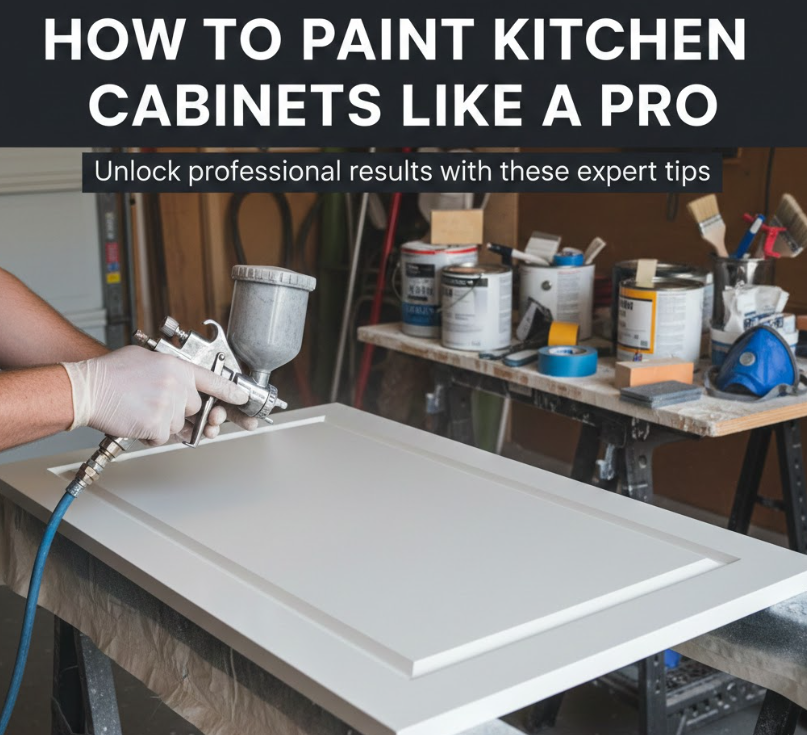
. Use spray painting for flawless finish
Spray guns create smooth, even coats without brush marks.
Spraying is ideal for large, flat surfaces.
. Work in a dust-free environment
Minimize dust and debris to prevent imperfections in the paint finish.
Clean surroundings improve final appearance.
. Apply multiple thin coats
Thin layers reduce drips, streaks, and uneven texture.
Multiple coats provide full opacity.
. Protect corners and edges
Use painter’s tape for precise edges and corners.
This ensures crisp lines and professional look.
. Cure and topcoat properly
Allow full curing time and seal with a protective topcoat.
Curing ensures long-lasting, durable finish.
Also Read:- How to Sleep on a Plane: The Complete Expert Guide for Restful Travel
Conclusion
Learning how to paint kitchen cabinets properly transforms your kitchen’s aesthetic and adds value to your home. Whether painting without sanding, achieving a crisp white finish, or mastering professional techniques, preparation, quality materials, and careful execution are essential.
By following this comprehensive guide, you can achieve durable, beautiful, and professional-looking cabinets that enhance your kitchen’s appearance for years to come. Consistency, patience, and attention to detail ensure your DIY project rivals the work of professional painters.
FAQs
Do I have to sand cabinets before painting?
No, with a bonding primer, sanding can often be skipped for smooth surfaces.
Can I paint cabinets white myself?
Yes, using proper primer, multiple coats, and protective topcoat ensures a professional finish.
How long does it take for cabinet paint to cure?
Curing typically takes 24–72 hours; full durability is reached in 7 days.
Can I achieve a professional look as a DIYer?
Yes, with careful prep, quality tools, and patience, a pro-level finish is possible.
For More Update Visit: VallayTaxNv